
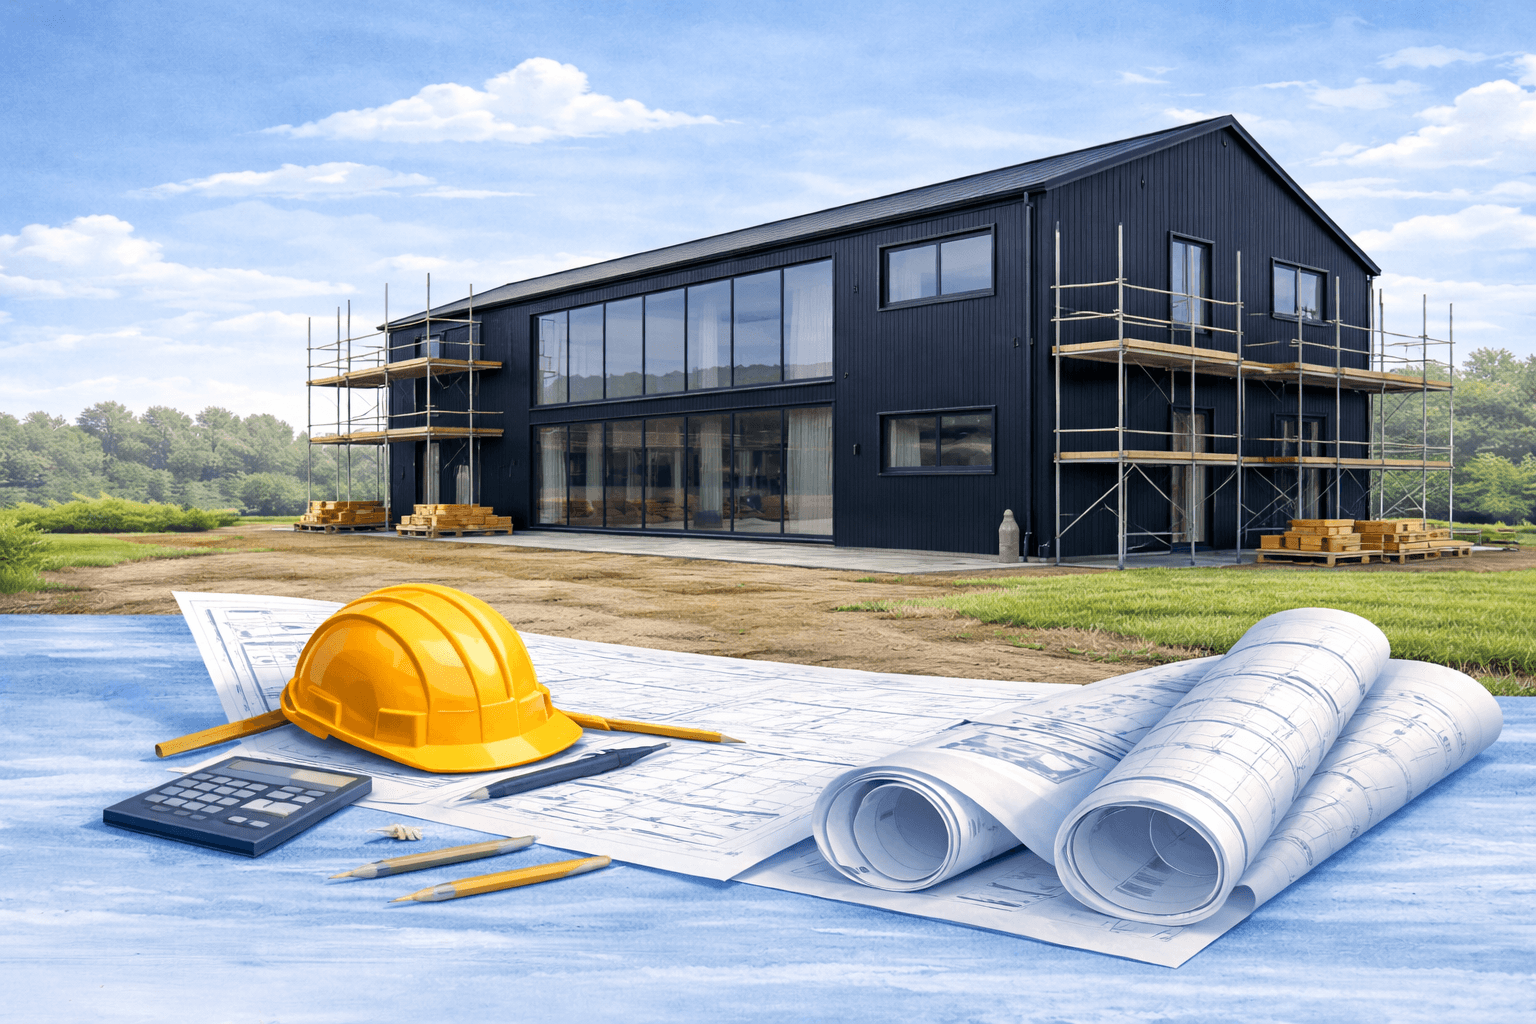
Read the full case study: Holmshaw Barn — the complete story
Part Two: The Build — Strategy, Pressure and Progress
← Part One: The Project & Planning
Starting from the Ground Up
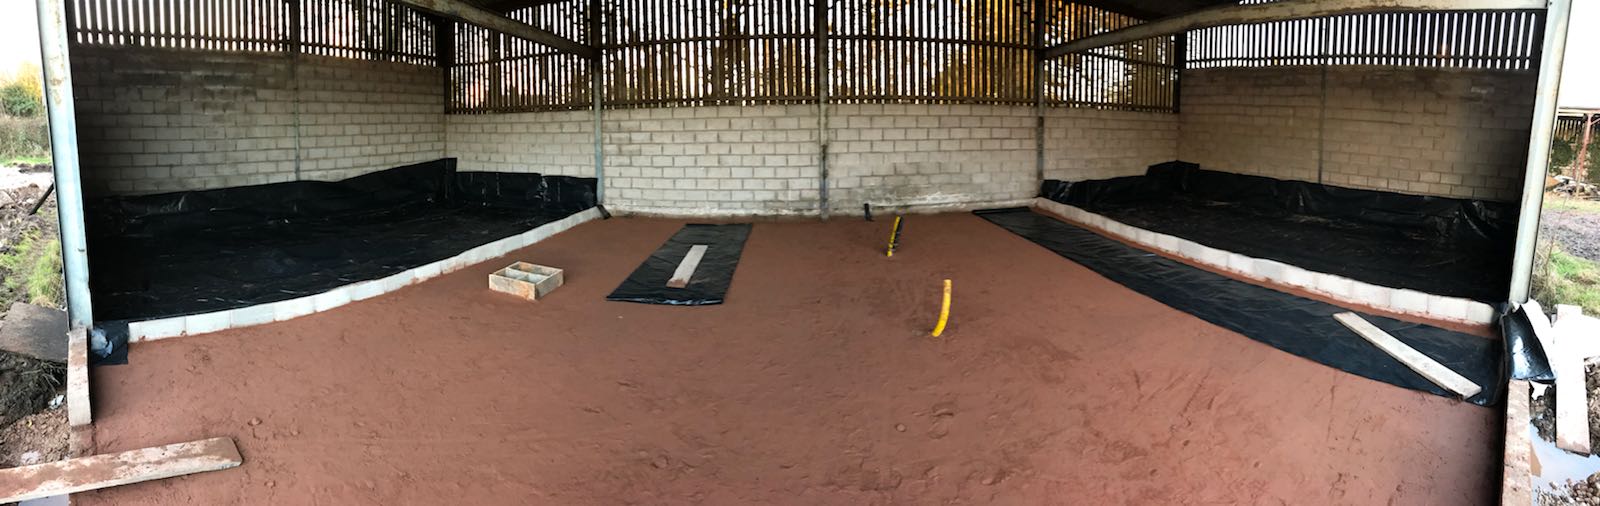
The first task was digging out the old slab, digging footings and pouring new foundations. With the existing agricultural floor stripped back and the ground prepared, the ground floor slab was cast across the full footprint. Standing inside the empty shell at that stage, membrane down, sand blinded, services roughed in, the scale of what was being attempted became real.
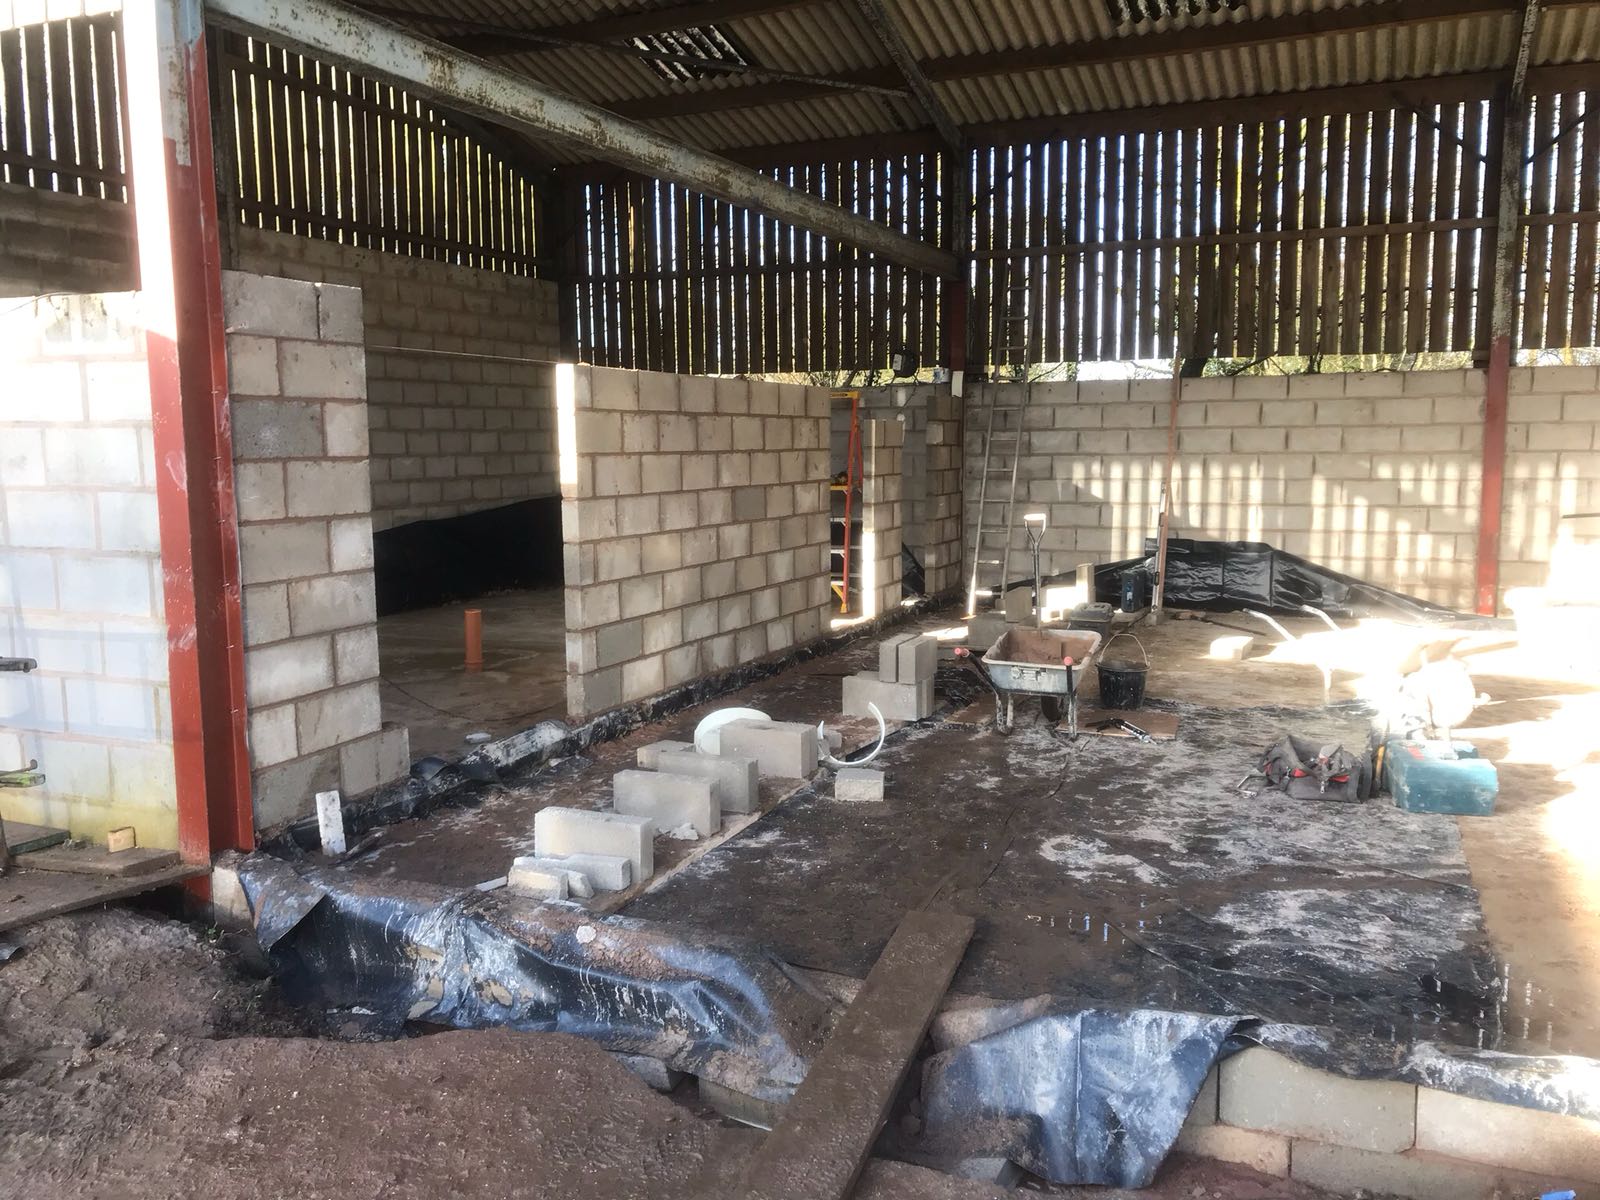
The superstructure work began immediately after. The existing single-storey block walls were built up, new internal partitions established and the structural steel installed to carry the first floor. Every beam had to be sized, specified and sequenced correctly in collaboration with our structural engineer, Steve Clarkson. Get that wrong and the floor structure above has nowhere to sit.
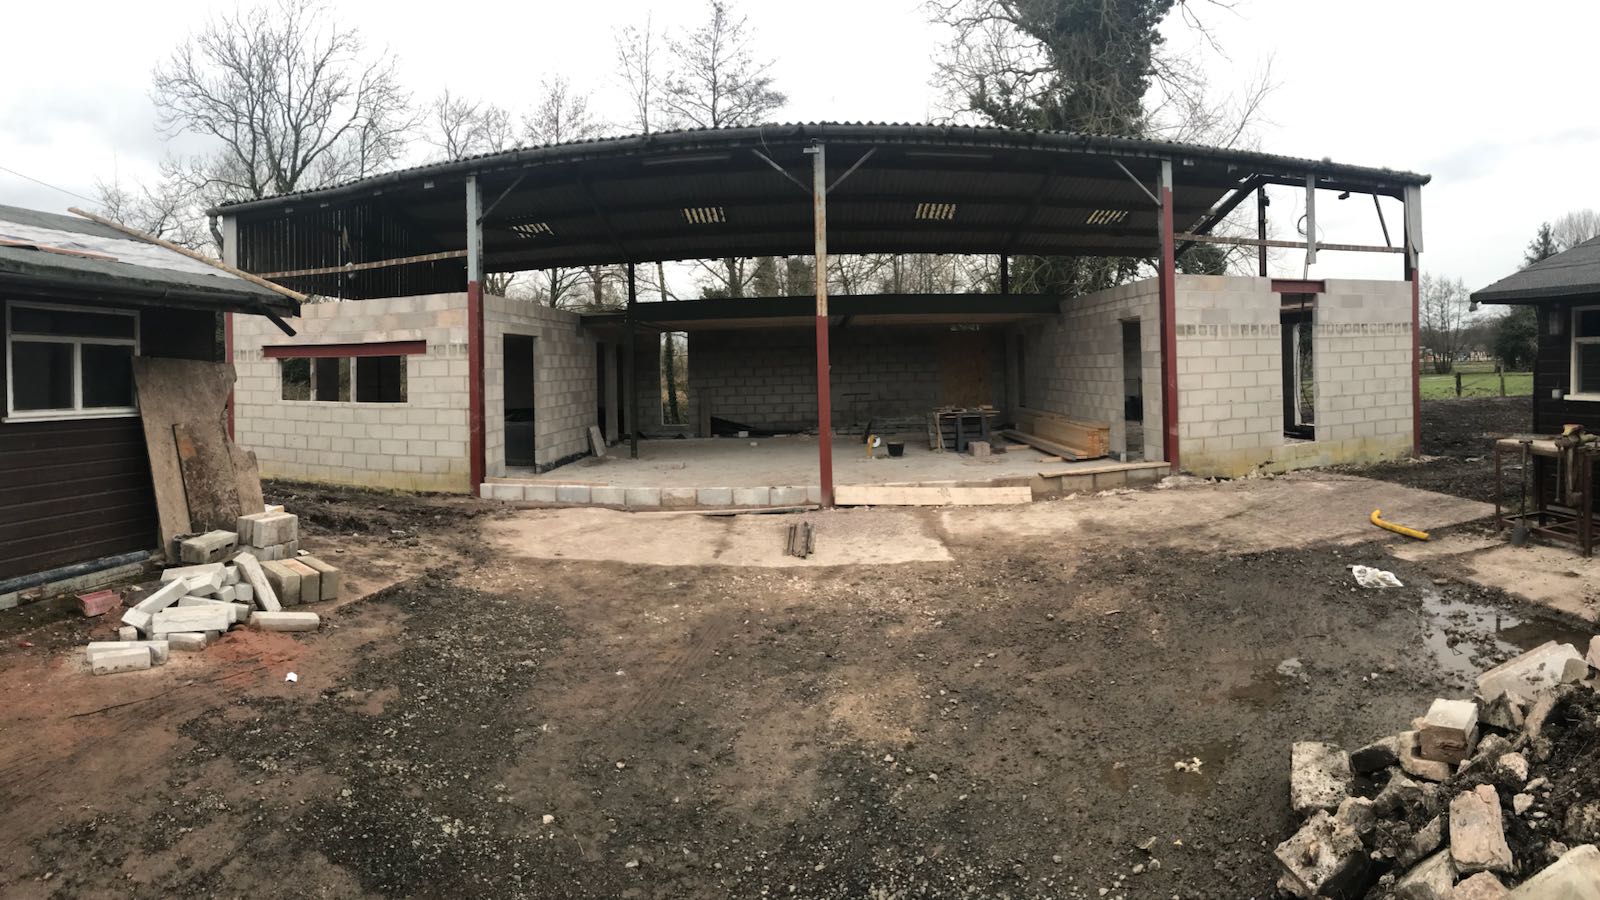
The first lift of blockwork visible from the exterior showed the building beginning to grow beyond its original floor space for the first time. The old corrugated roof, which had been retained throughout the ground floor works to protect the site from weather, was eventually stripped back entirely to allow the first floor superstructure to proceed.
Building the First Floor
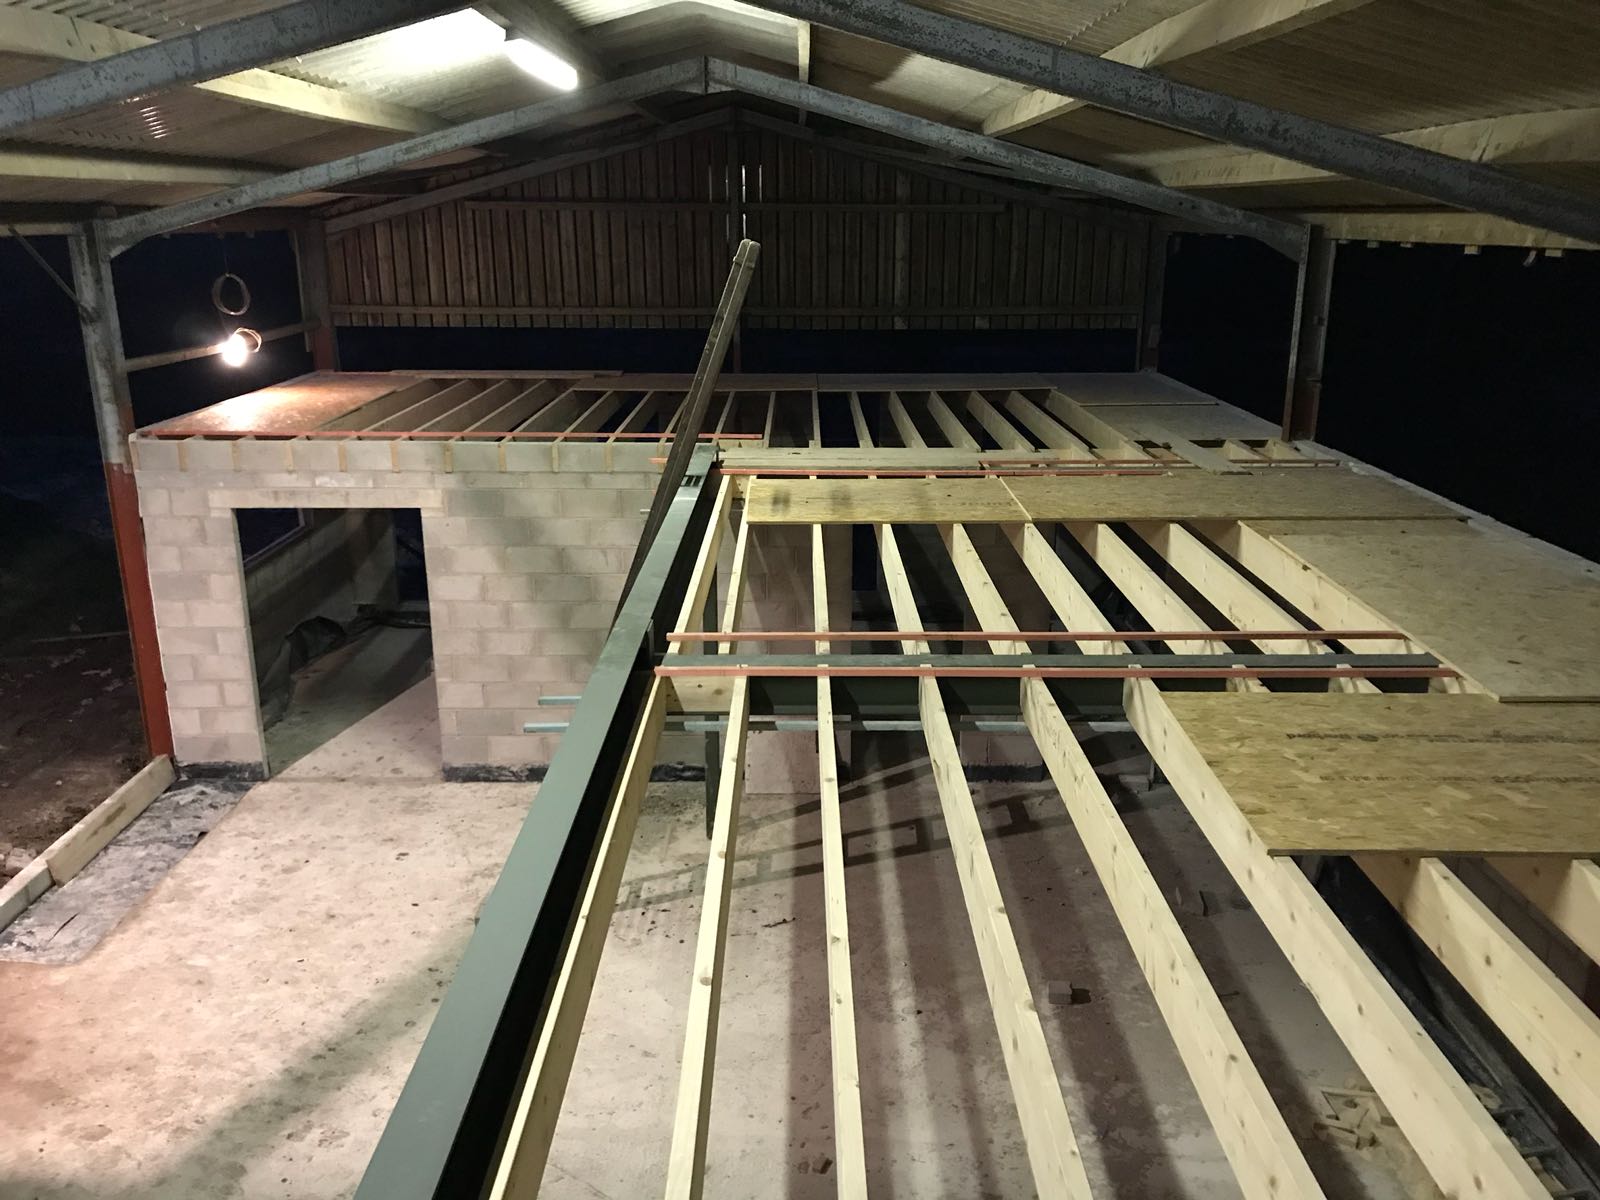
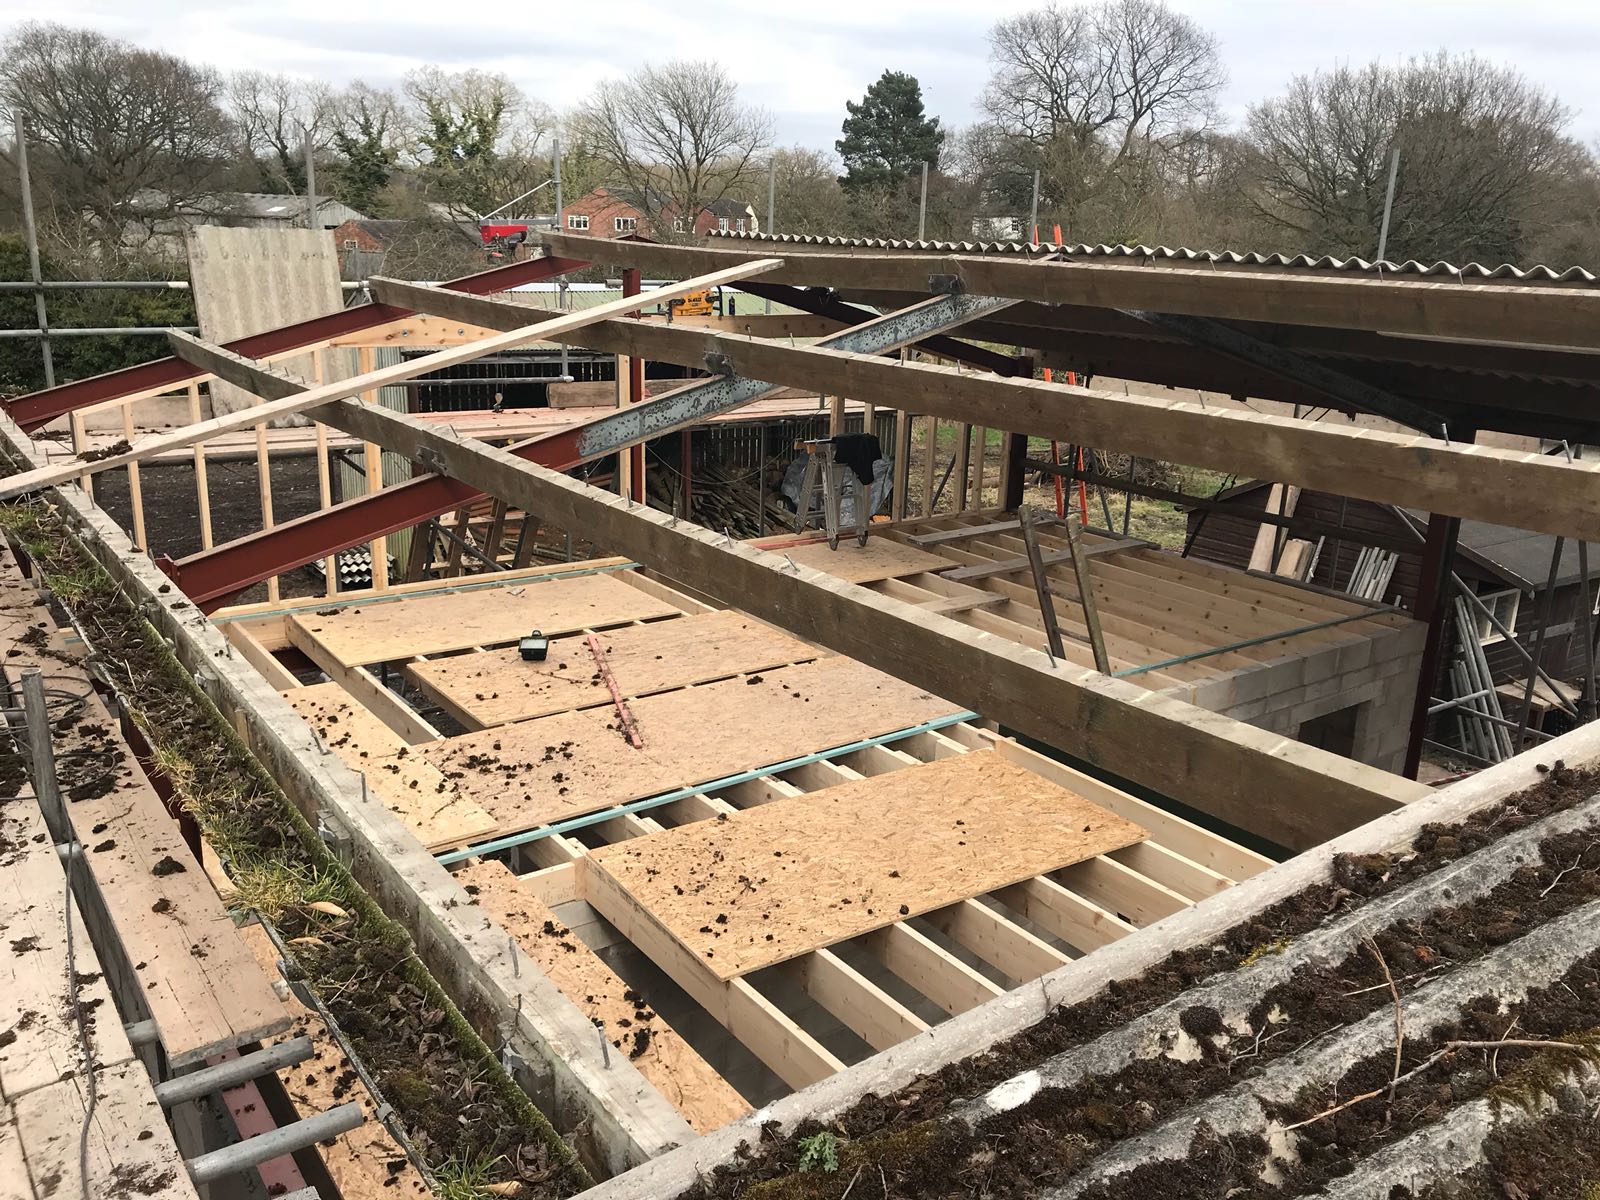
The first floor timber frame and floor joists went in during what felt like the most structurally dramatic phase of the project. Looking up from ground level at the new floor structure spanning the entire volume of the building, with the sky visible through where the old roof had been, was the moment the conversion stopped looking like a renovation and started looking like something else entirely.
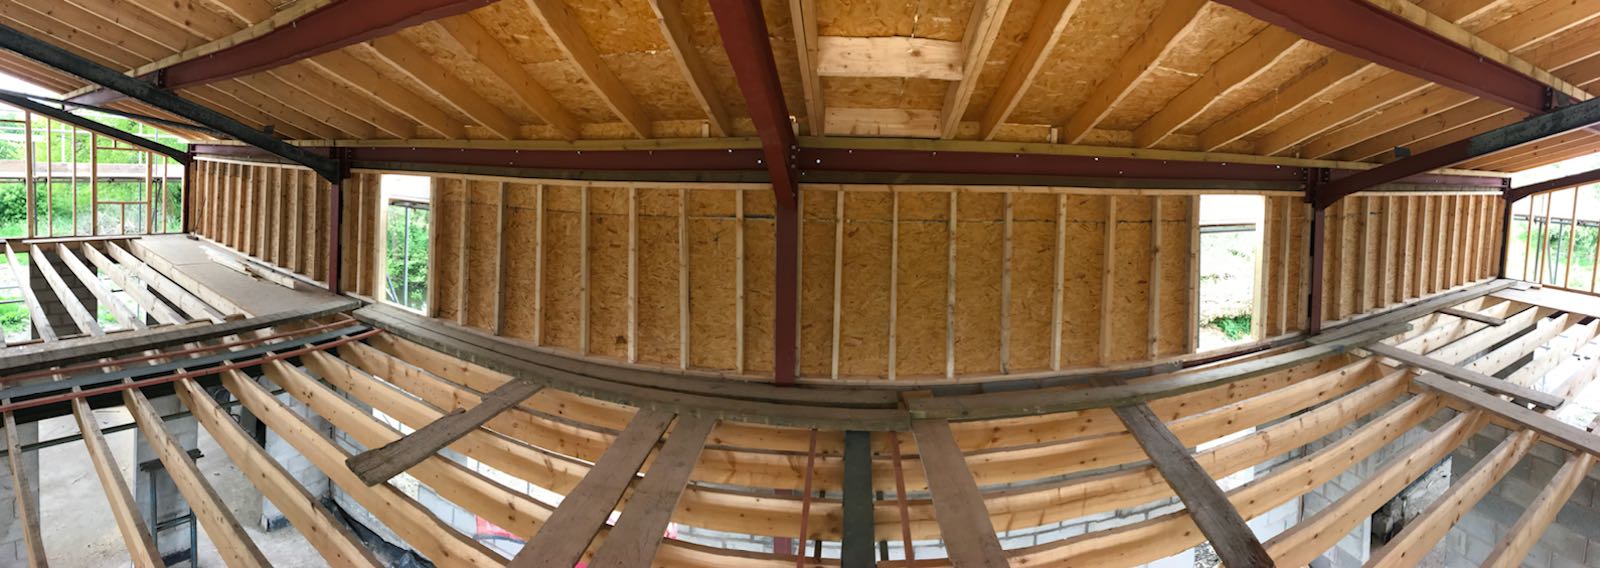
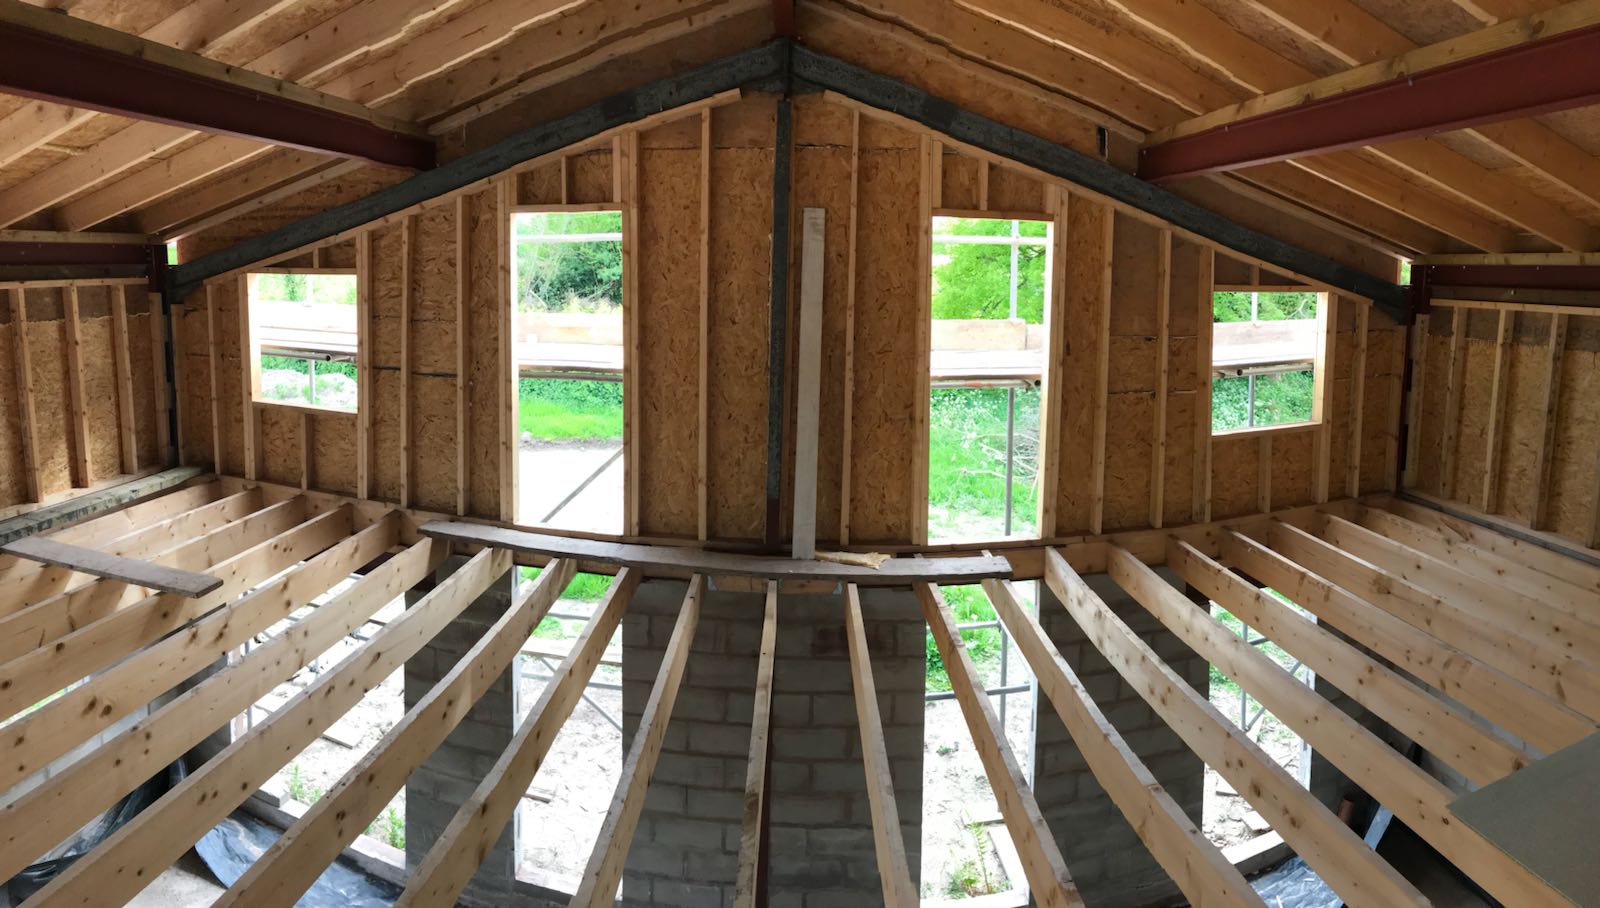
Inside the new first floor shell, the scale of the space became apparent. The original steel portal frame of the barn had been retained and incorporated into the new structure, a design decision that would later give the building much of its character. The combination of timber stud walls, OSB sheathing and the retained steel created a structural aesthetic that could not have been designed from scratch.
One of the first significant cost-saving decisions was installing over 200m² of rigid Celotex insulation before the slab was poured. Unlike some of the later insulation tasks, this was surprisingly enjoyable work. The real challenge came later.
For the first floor and roof structure I chose a combination of Actis Hybris insulation and H-Control reflective membrane. The thermal performance was excellent and the cost compared favourably with alternatives but installation was genuinely labour intensive.
Countless weekends were spent cutting insulation panels, fixing battens and wrapping the entire upper floor structure with the H-Control reflective blanket, much of it done alone. More than once I managed to staple my own thumb while working overhead. Despite that, I'd make the same decision again. The system performs exceptionally well in terms of thermal efficiency and delivered meaningful savings against alternative approaches. The only thing I'd change is persuading someone else to help me install it.
Making It Weather Tight
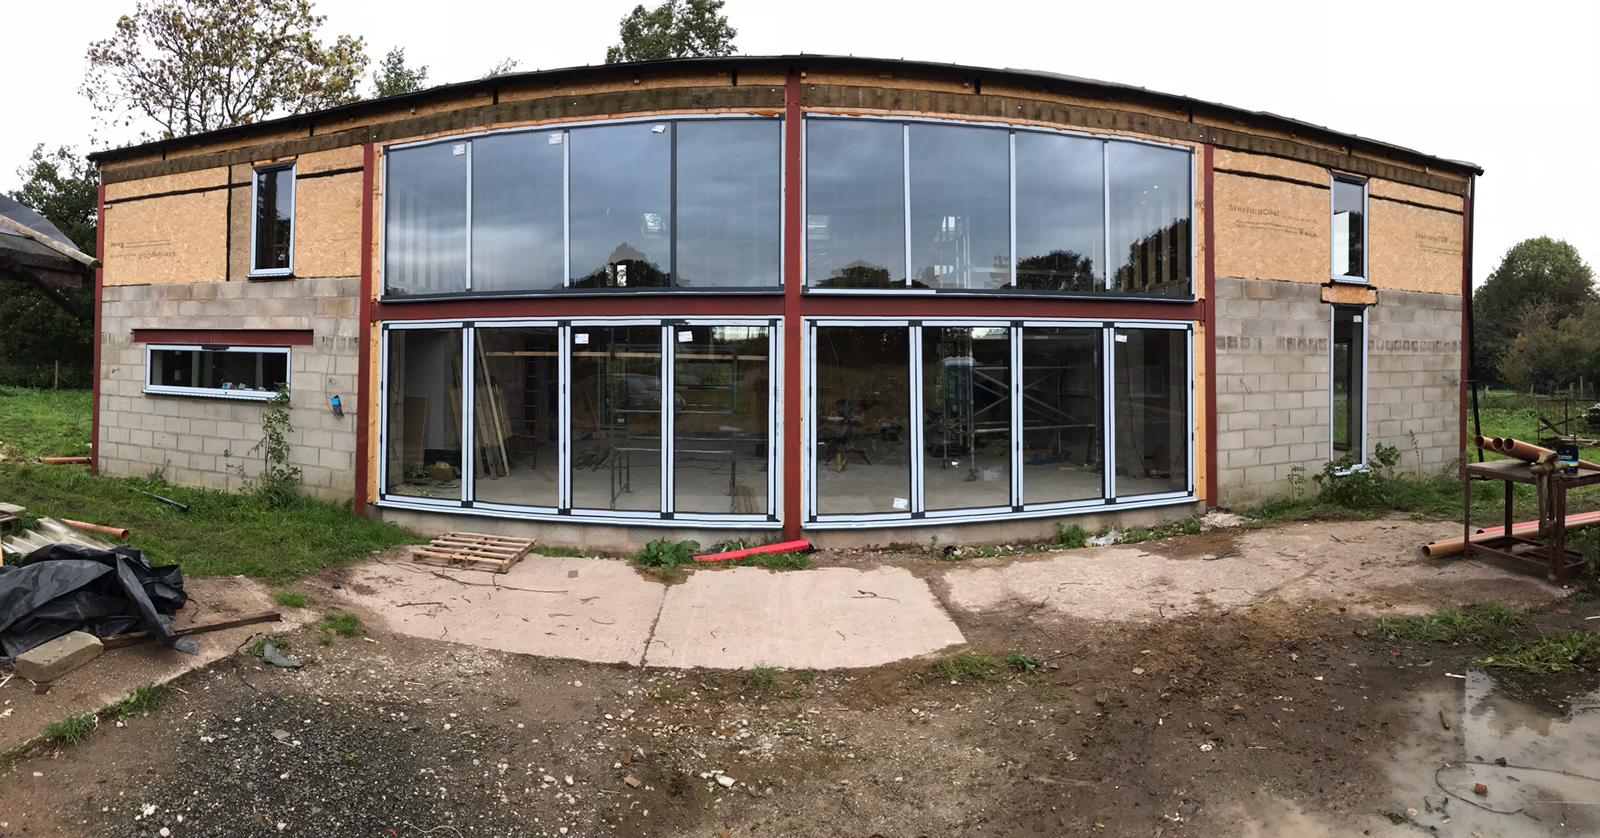
The moment the windows and glazing went in was the moment the project crossed a threshold. The front elevation, a nearcontinuous run of aluminium-framed glazing across both floors, transformed what had been a building site into something that looked finished from the outside, even while it remained a shell internally.
The glazing had been specified and ordered months earlier. Lead times on architectural aluminium frames are long and getting the specification wrong at this stage would have been catastrophic. Structural openings were committed long before the frames arrive. This was one of the moments where the decisions-before-they-feel-necessary discipline genuinely protected the project.
Seeing the glazing installed by Steve Rimmer of Homestyle Property Improvements was one of the most satisfying moments of the entire build. For months the project had felt like structure, steel, insulation and endless tasks. Suddenly there was a recognisable building emerging from the site. The double height glazed elevation completely transformed what the barn had been.
It was the first point where people could understand what the finished building might eventually become.
The Day the Scaffolding Came Down
For months I had only seen the building through scaffolding poles, boards and netting.
When the scaffolding finally came down I stood back and saw the entire building properly for the first time. The glazing was in. The roof profile was visible. The vision that had existed only in drawings suddenly existed in reality.
The Messy Middle: First Fix to Plasterboard
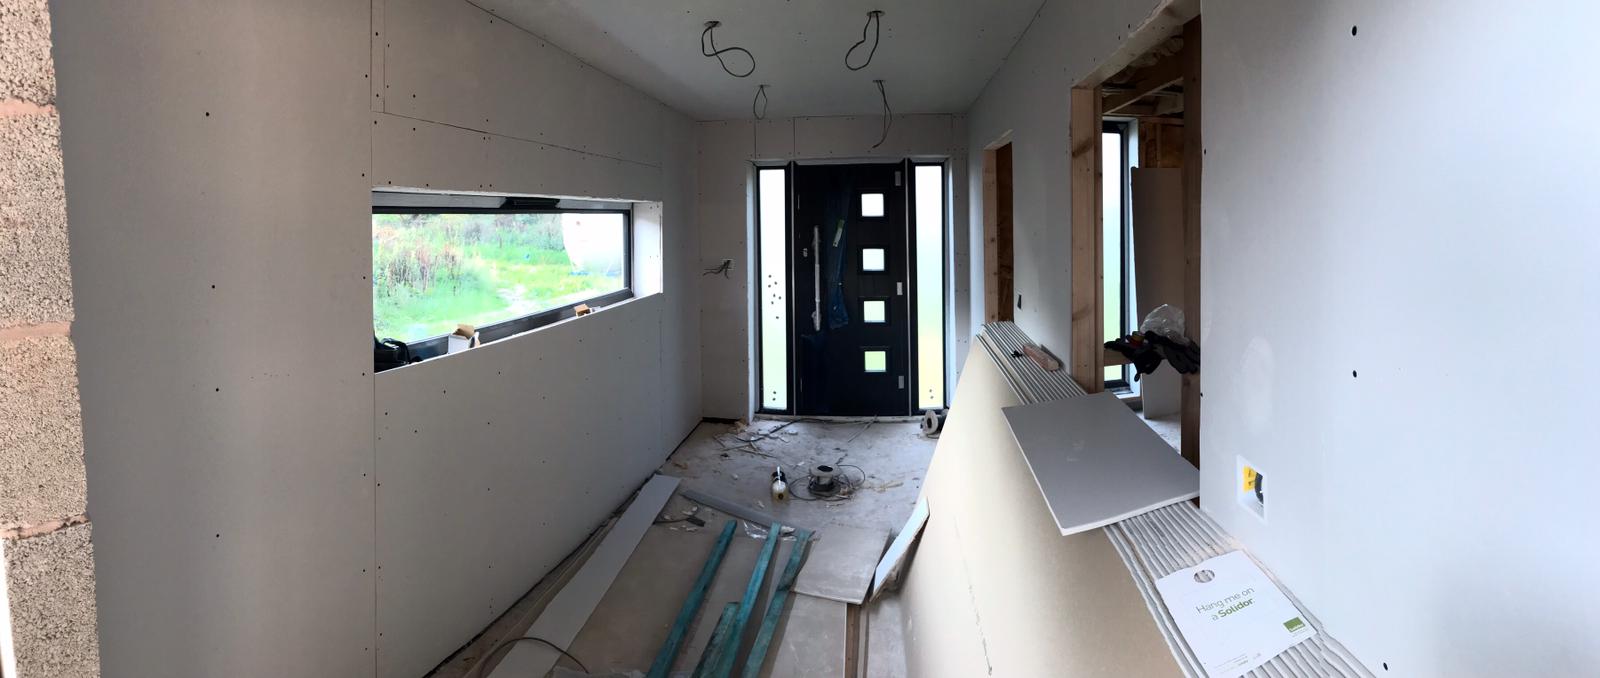
If the structural phases are the visible drama of a self-build, first and second fix are where projects quietly fall apart. The sequence matters enormously. Electricians need to be in before plasterers, plumbers need to complete runs before floors go down. If one trade is late, the next cannot start and idle trade time on a self-managed project is money spent on nothing.
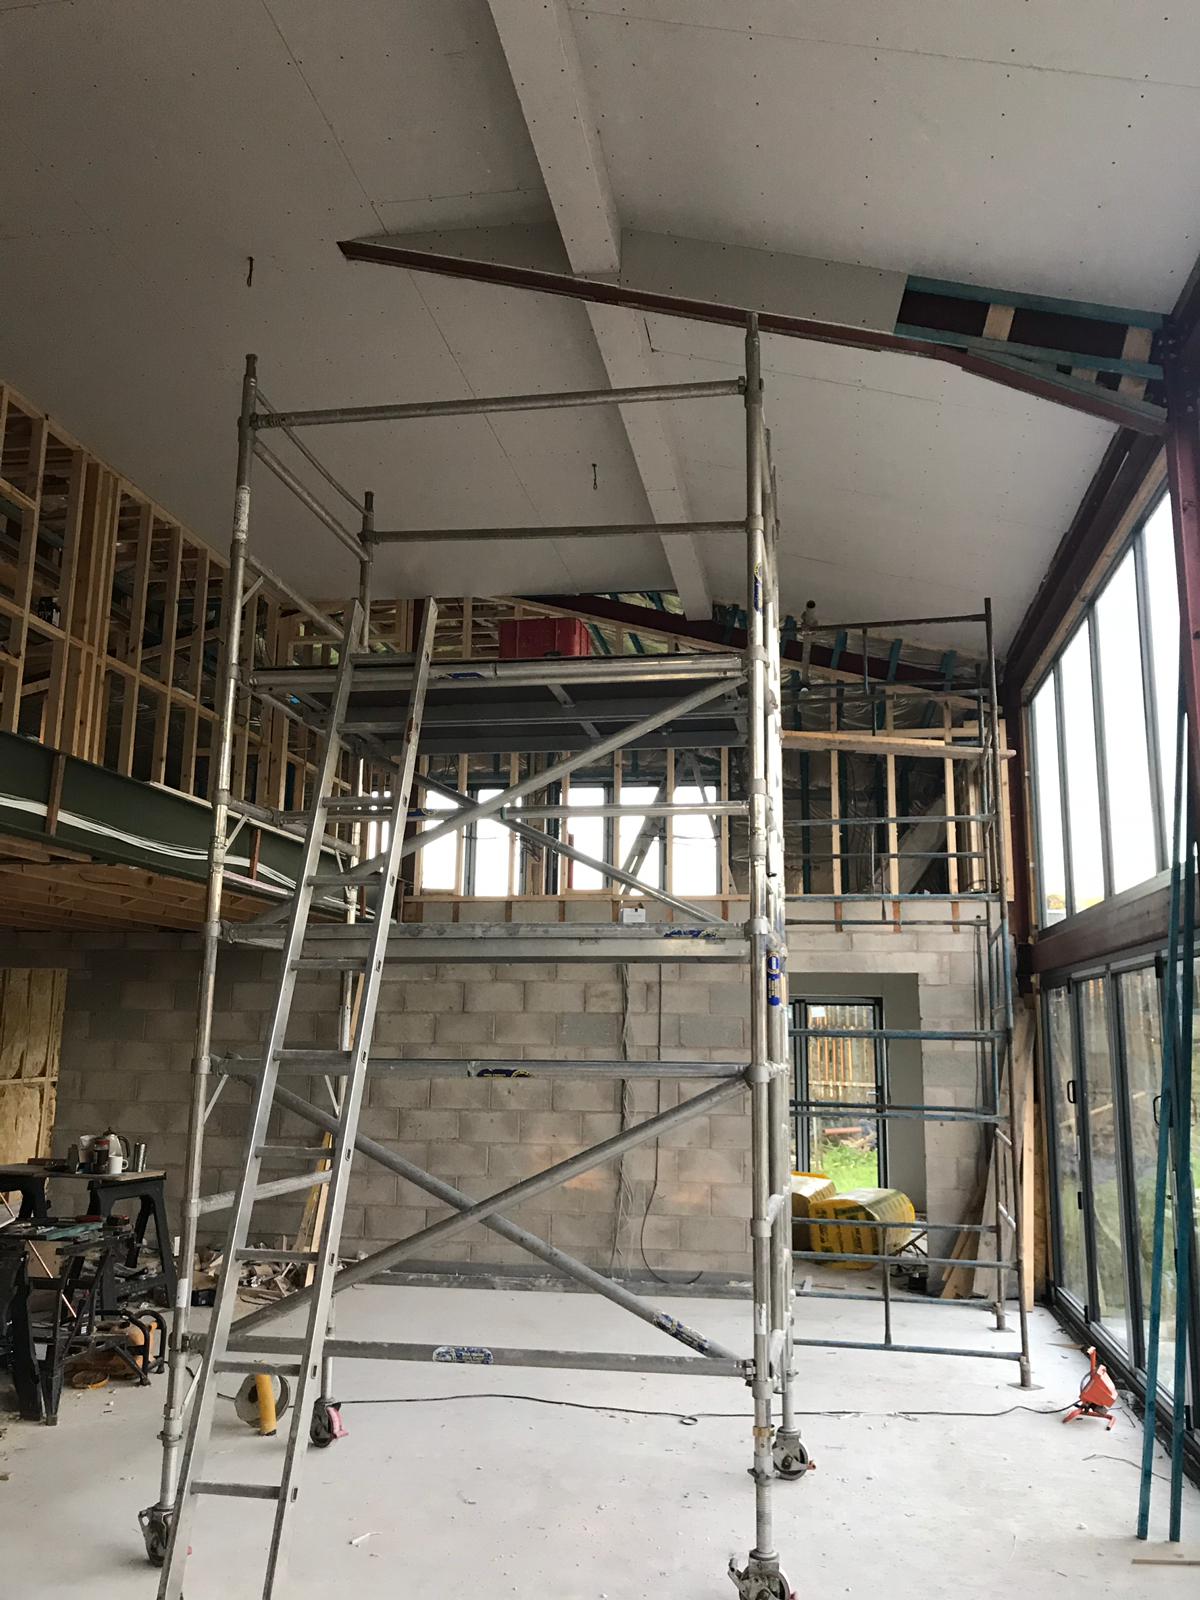
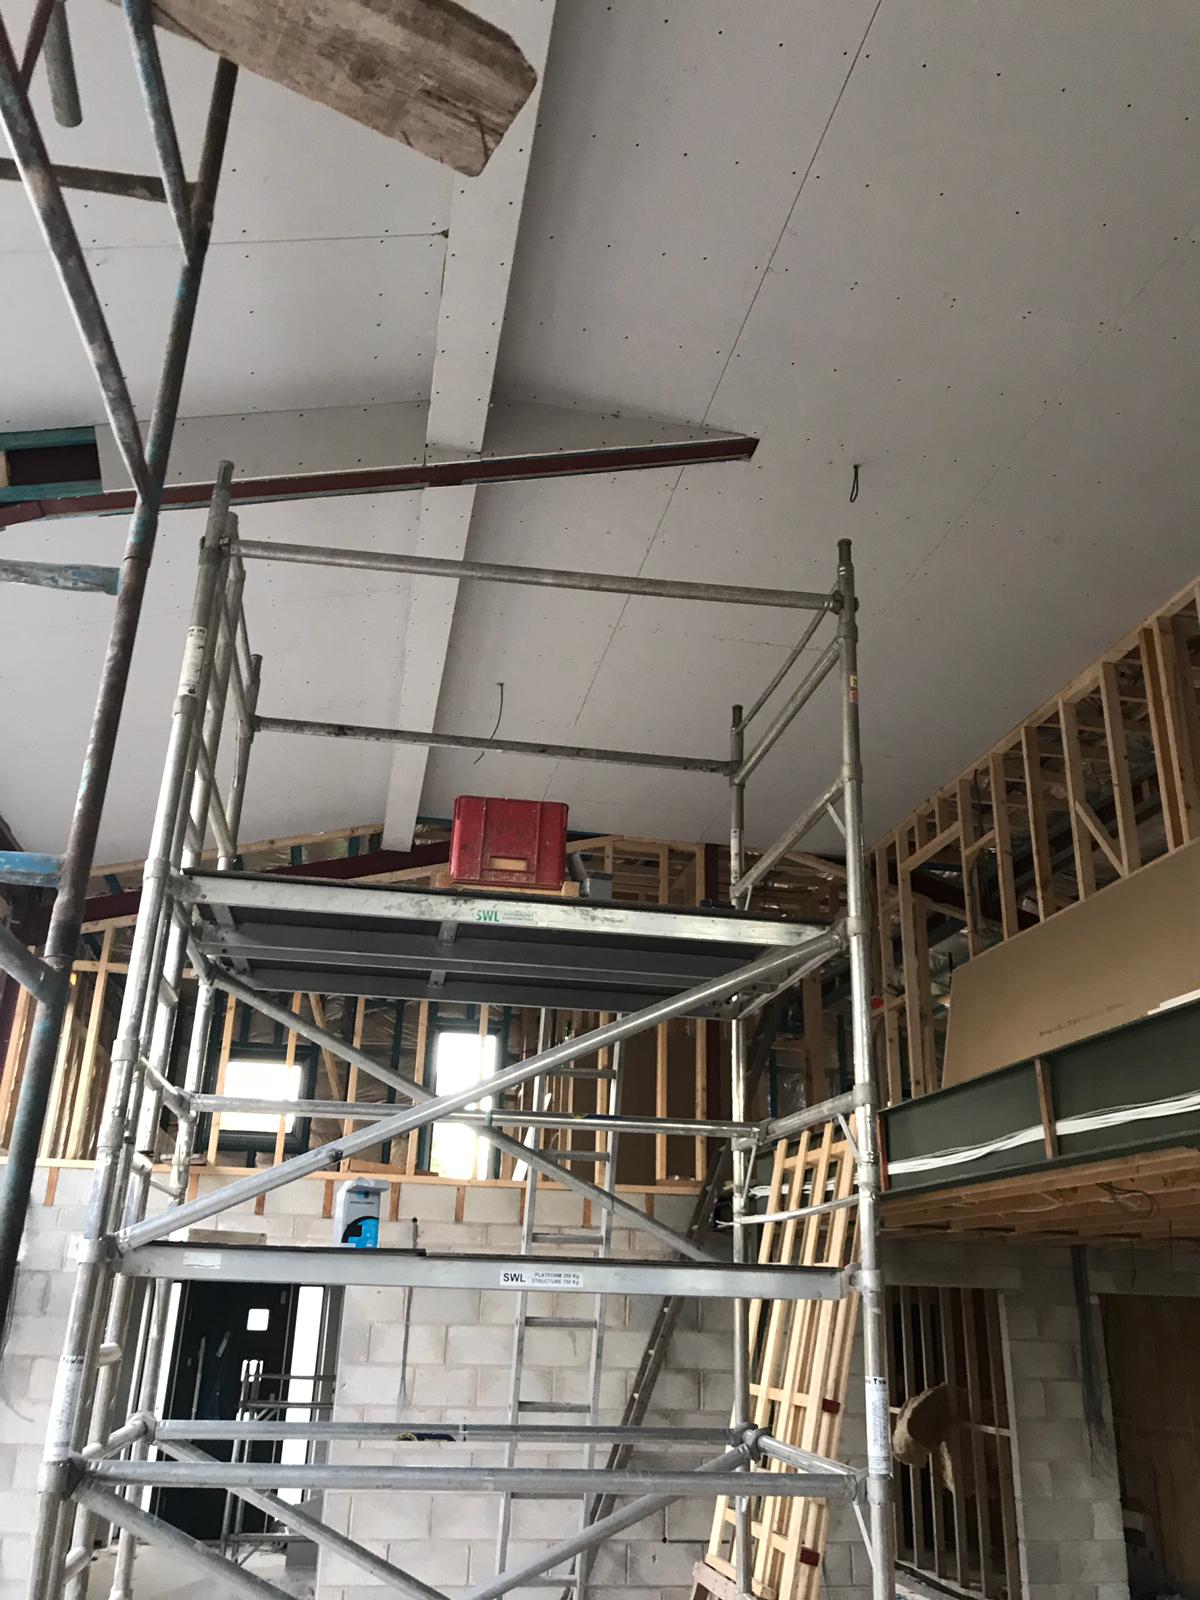
The scaffolding towers inside the double height volume illustrated the complexity. Plasterboarding a vaulted ceiling at five metres without scaffolding is not possible. But scaffolding takes time to erect, adjust and clear. The sequencing of plastering, electrical first fix and boarding was managed as a live logistics problem throughout this phase with trades scheduled in according to what was actually ready rather than on fixed weekly rotas.
The site was kept clean throughout by me and friends who helped at various stages. Not as a matter of preference, but as a deliberate productivity strategy. A clean site made trades faster. They don't spend time finding tools, moving materials around or working in conditions that slow them down.
Throughout much of the build, Phil Evans was the constant presence. While other trades came and went as phases changed, Phil remained from start to finish and became instrumental in keeping the project moving. Colin Ledgar handled all the electrical works and spent many weekends alongside me fitting plasterboard to help with both time and cost. The value of that kind of approach, where tradespeople understand the project's constraints and adapt accordingly, is impossible to fully quantify but shows up in the final number.
The People Behind Holmshaw Barn
No self-build is ever completed alone. Holmshaw Barn benefited from the expertise, commitment and hard work of a lot of people.
- BuildStore — Mortgage Broker
- Darlington Building Society — Mortgage Provider
- BuildZone — Structural Warranty
- DMA Architecture (Daniel Matthias) — Design and Planning
- Steve Clarkson — Structural Engineer
- Jewson — Principal Materials Supplier
- Phil Evans — Principal Builder, start to finish
- Colin Ledgar — Electrical Works
- Ben Ledgar — Joiner for Garage Build
- Gary & Dave Evans — Plumbing and Tiling
- Steve Rimmer, Homestyle Property Improvements — Glazing
- Dave Marland — Steelwork and Cladding
- Levi — Plastering
- Jake Bourne-Withey — Groundworks, Drainage and Landscaping
- Tile Mountain — Floor and Bathroom Tiling Supply
- Family and friends — Site Clearance, Painting, Insulation and Plasterboarding Support
BuildaPath is the digital project manager for your build.
BuildaPath helps homeowners manage self-builds, extensions and conversions with stages, tasks, budgets, funding, risks and reports in one place.
Start your 30-day free trial at www.buildapath.co.uk, no card required.